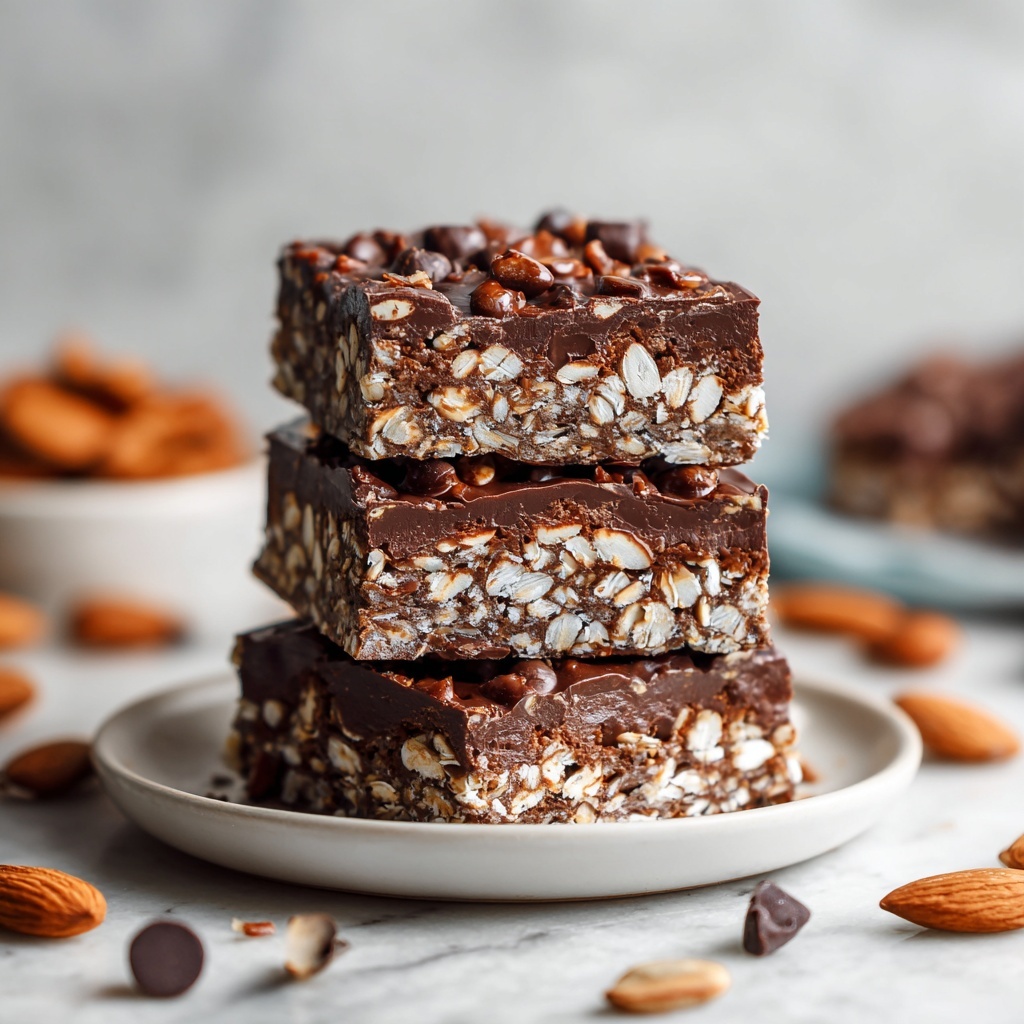
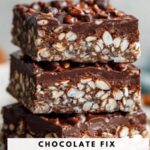
There’s something incredibly comforting about a sweet treat that’s quick to make, wholesome, and utterly delicious. This No-Bake Chocolate Oat Bars Recipe brings all of that together in one satisfying bite. With the rich flavors of cocoa and peanut butter combined with the hearty chew of rolled oats, these bars are perfect for a snack, a dessert, or even an on-the-go breakfast. Plus, no oven is required, making this recipe an absolute lifesaver when you want something tasty without the fuss.
Ingredients You’ll Need
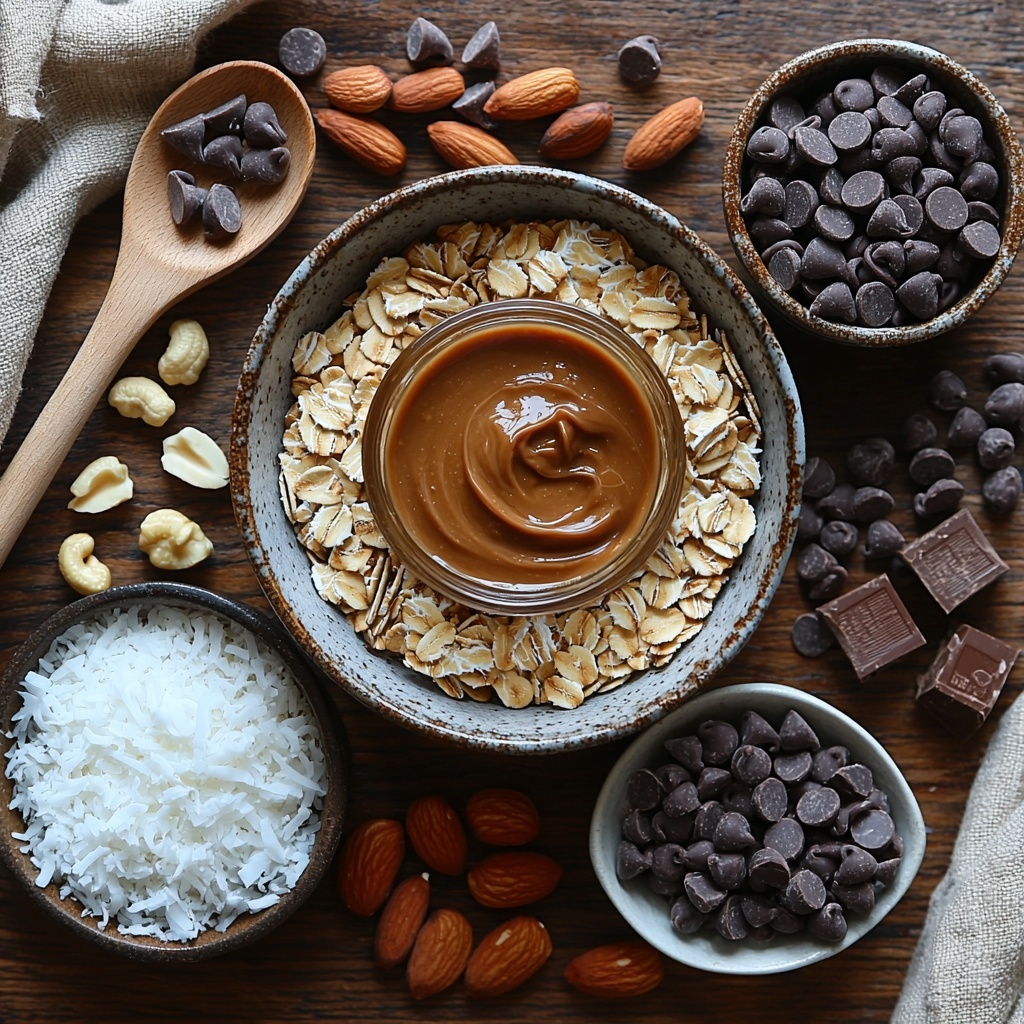
The magic of this No-Bake Chocolate Oat Bars Recipe lies in its simplicity. Each ingredient plays a pivotal role in building the perfect balance of taste, texture, and appearance. From creamy peanut butter that binds everything together to the touch of honey that adds natural sweetness and chewiness, every item is essential.
- 2 cups rolled oats: Provides a hearty, chewy texture and whole grain goodness.
- 1 cup creamy peanut butter: Acts as the glue and gives a rich, nutty flavor; nut butter alternatives work too!
- ½ cup honey: Adds natural sweetness and helps bind the bars; substitute with maple syrup for a vegan option.
- ½ cup unsweetened cocoa powder: Delivers that deep chocolate flavor without extra sugar.
- ½ cup chocolate chips: Adds pockets of melty, sweet indulgence and enhances chocolate richness.
- 1 teaspoon vanilla extract: Lifts the flavors and adds a lovely aromatic warmth.
- ¼ teaspoon salt: Balances the sweetness and enriches all flavors.
- Optional toppings: Shredded coconut, crushed nuts, or extra chocolate chips to add a fun texture and flair.
How to Make No-Bake Chocolate Oat Bars Recipe
Step 1: Combine the Wet Ingredients
Start by warming the creamy peanut butter and honey together in a microwave-safe bowl for about 20 to 30 seconds, or until they’re easy to stir. This step helps them blend smoothly so the bars hold together perfectly. Then stir in the vanilla extract and a pinch of salt to deepen the flavor mix.
Step 2: Mix the Dry Ingredients
In a large mixing bowl, combine the rolled oats and unsweetened cocoa powder. Give them a good stir to evenly distribute the cocoa, which will coat every oat and enhance the chocolatey taste throughout the bars.
Step 3: Bring It All Together
Pour the warm peanut butter and honey mixture over the dry ingredients. Fold everything together gently but thoroughly, making sure each oat is coated with the chocolate-peanut butter blend. Finally, fold in the chocolate chips for those lovely melty pockets you’ll find in every bite.
Step 4: Press Into a Pan
Line an 8×8-inch square pan with parchment paper or lightly grease it. Transfer the mixture into the pan and press it down firmly with a spatula or your clean hands. Ensuring it’s compact helps the bars hold their shape once chilled. If you want, sprinkle your chosen optional toppings evenly on top and press them lightly into the surface.
Step 5: Chill Until Firm
Place the pan in the refrigerator for at least two hours, allowing the bars to set and become delightfully firm. This no-bake step is key to getting that chewy-yet-sturdy texture that makes these bars so addictive.
How to Serve No-Bake Chocolate Oat Bars Recipe
Garnishes
A simple dusting of cocoa powder or a drizzle of melted chocolate over the bars can instantly elevate their look and richness. For extra fun, sprinkle some toasted shredded coconut or crushed nuts on top just before serving to add a mix of textures and visual appeal.
Side Dishes
These bars shine on their own but pairing them with a fresh fruit salad or a dollop of Greek yogurt can balance the richness and add a refreshing element. A cup of coffee or an iced glass of almond milk makes a terrific companion for an afternoon pick-me-up snack.
Creative Ways to Present
Take your No-Bake Chocolate Oat Bars Recipe to a party platter by cutting the bars into bite-sized squares and arranging them on a beautiful tray with fresh berries or edible flowers. Wrap individual bars in parchment paper tied with a rustic string for a delightful homemade gift that everyone will adore.
Make Ahead and Storage
Storing Leftovers
Keep any leftover bars stored in an airtight container in the refrigerator. They’ll stay fresh and chewy for up to a week, making them a perfect prepared snack when hunger strikes.
Freezing
For longer storage, wrap individual bars tightly in plastic wrap and place them in a freezer-safe bag or container. Frozen bars can last up to 3 months and thaw quickly at room temperature or in the fridge.
Reheating
While these bars are delicious chilled, if you prefer a softer texture, microwave them for 10 to 15 seconds to warm slightly before eating. This releases their gooey peanut butter and chocolate goodness beautifully.
FAQs
Can I use a different nut butter in this recipe?
Absolutely! Almond butter, cashew butter, or sunflower seed butter all work beautifully in this No-Bake Chocolate Oat Bars Recipe and offer unique flavor twists.
Is this recipe gluten-free?
It can be, as long as you use certified gluten-free rolled oats. Always check the packaging if you have gluten sensitivities.
Can I make these bars vegan?
Yes, swap the honey for maple syrup or agave nectar and use a vegan chocolate chip brand to keep the recipe completely plant-based.
What’s the best way to cut the bars cleanly?
For neat slices, refrigerate the bars until very firm and use a sharp knife warmed under hot water, wiping it clean between cuts to avoid crumbling.
Can I add extras like dried fruit or seeds?
Definitely! Chopped dried cranberries, chia seeds, or flaxseeds can add nutrition and extra bursts of flavor or crunch to the bars.
Final Thoughts
This No-Bake Chocolate Oat Bars Recipe is one of those effortless gems that I find myself reaching for again and again. It’s quick, satisfying, and perfectly customizable whether you like it more chocolatey, nutty, or topped with fun extras. I hope you give it a try and discover just how delicious and easy homemade snack bars can be. Trust me, once you make them, these bars will become a beloved staple in your kitchen.
Print
No-Bake Chocolate Oat Bars Recipe
- Prep Time: 10 minutes
- Cook Time: 0 minutes
- Total Time: 2 hours 10 minutes (including chilling time)
- Yield: 12 bars
- Category: Snack
- Method: No-Cook
- Cuisine: American
- Diet: Vegetarian
Description
These No-Bake Chocolate Oat Bars are a delicious and healthy snack perfect for any time of the day. Combining wholesome rolled oats, creamy peanut butter, rich cocoa, and sweet honey, they offer a perfect balance of flavors and textures without requiring any baking. Easy to prepare and customizable with optional toppings, these bars are a favorite for both kids and adults.
Ingredients
Base Ingredients
- 2 cups rolled oats
- 1 cup creamy peanut butter (or nut butter of choice)
- ½ cup honey (or maple syrup for a vegan option)
- ½ cup unsweetened cocoa powder
- ½ cup chocolate chips (semi-sweet or dark)
- 1 teaspoon vanilla extract
- ¼ teaspoon salt
Optional Toppings
- Shredded coconut
- Crushed nuts
- Extra chocolate chips
Instructions
- Prepare the mixing bowl: In a large mixing bowl, combine the rolled oats, unsweetened cocoa powder, and salt. Mix well to ensure the dry ingredients are evenly distributed.
- Heat wet ingredients: In a microwave-safe bowl or on the stovetop, gently warm the peanut butter and honey (or maple syrup) until smooth and easily stirrable. This usually takes about 20-30 seconds in the microwave or low heat on the stovetop. Be careful not to overheat.
- Combine wet and dry ingredients: Pour the warmed peanut butter and honey mixture into the bowl with the oats and cocoa powder. Add the vanilla extract. Stir everything thoroughly until the oats are fully coated and the mixture is sticky and well combined.
- Add chocolate chips: Fold in the chocolate chips gently to distribute them evenly throughout the mixture without melting them.
- Press the mixture into a pan: Line an 8×8 inch baking pan with parchment paper for easy removal. Transfer the oat mixture into the pan and press it down firmly and evenly using the back of a spatula or your hands to compact the mixture well.
- Add optional toppings: Sprinkle shredded coconut, crushed nuts, or extra chocolate chips on top if desired. Press lightly so they stick.
- Chill to set: Place the pan in the refrigerator for at least 2 hours to allow the bars to firm up and set properly.
- Slice and serve: Once set, remove the bars from the pan using the parchment paper. Cut into squares or bars of your preferred size and enjoy!
Notes
- For a vegan version, use maple syrup instead of honey and ensure the chocolate chips are dairy-free.
- If the mixture feels too dry, add a tablespoon of warm water or additional peanut butter to help bind.
- Store the bars in an airtight container in the refrigerator for up to one week for freshness.
- You can customize the bars by adding dried fruit, seeds, or different types of nut butter.
- Make sure to press the mixture firmly into the pan to help the bars hold together better after chilling.

